Installing a new roof is a complicated process that requires knowledge, experience, and accuracy from people performing this type of work. The amount of time the entire project demands will depend on the type of roof you choose for your home and whether or not there are any structural damages or other surprises your contractor may encounter. In most cases, your roof replacement project will be wrapped up within one day, while in some exceptional cases, the work can take up to five days. In extreme circumstances, such as weather conditions, your home’s accessibility, or complexity, the roof installation process can take several weeks to complete.
When entrusting someone with the project, make sure you choose the right crew for the job – highly experienced and proven professionals who have covered more than one home in your area.
Here is everything you need to know about the roof installation process:
Step-By-Step Guide to Roof Installation
Let’s break down the entire process of installing a new roof so you can have a better understanding what to expect during the complex home renovation project.
1. What you can expect up to a week before installation of your new roof begins:
The crew might start preparing for the big day by delivering a dumpster to your home a few days before they begin working on your roof. If your roofing contractor plans on recycling your old asphalt shingles, they might also deliver a secondary dumpster to aid the process. Your new asphalt shingles will be delivered a few days before installation and will most likely be placed either on the roof itself or on your driveway.
2. Plan for the day by taking appropriate action and state your requests:
Before the work on your roof begins, it might be a good idea to ask your roofing contractors if any of your pets need to be contained or moved around for safety reasons. The same applies to covering any valuable items in your front and back yard, such as planters or statues. Ask your roofer if they will cover the basics, such as your shrubbery and flowers. If not, make sure to do so yourself to avoid any damage. This is also a good time to ask any remaining questions you might have or state your special requests, such as which entrance to use when needing to use the bathroom. It might be reasonable to ask your roofing contractor about the post-installation process, such as a walk-through or cleanup of your back and front yard of loose nails and debris. Discussing these matters before the work begins will let you know what you can expect and avoid any misunderstandings.
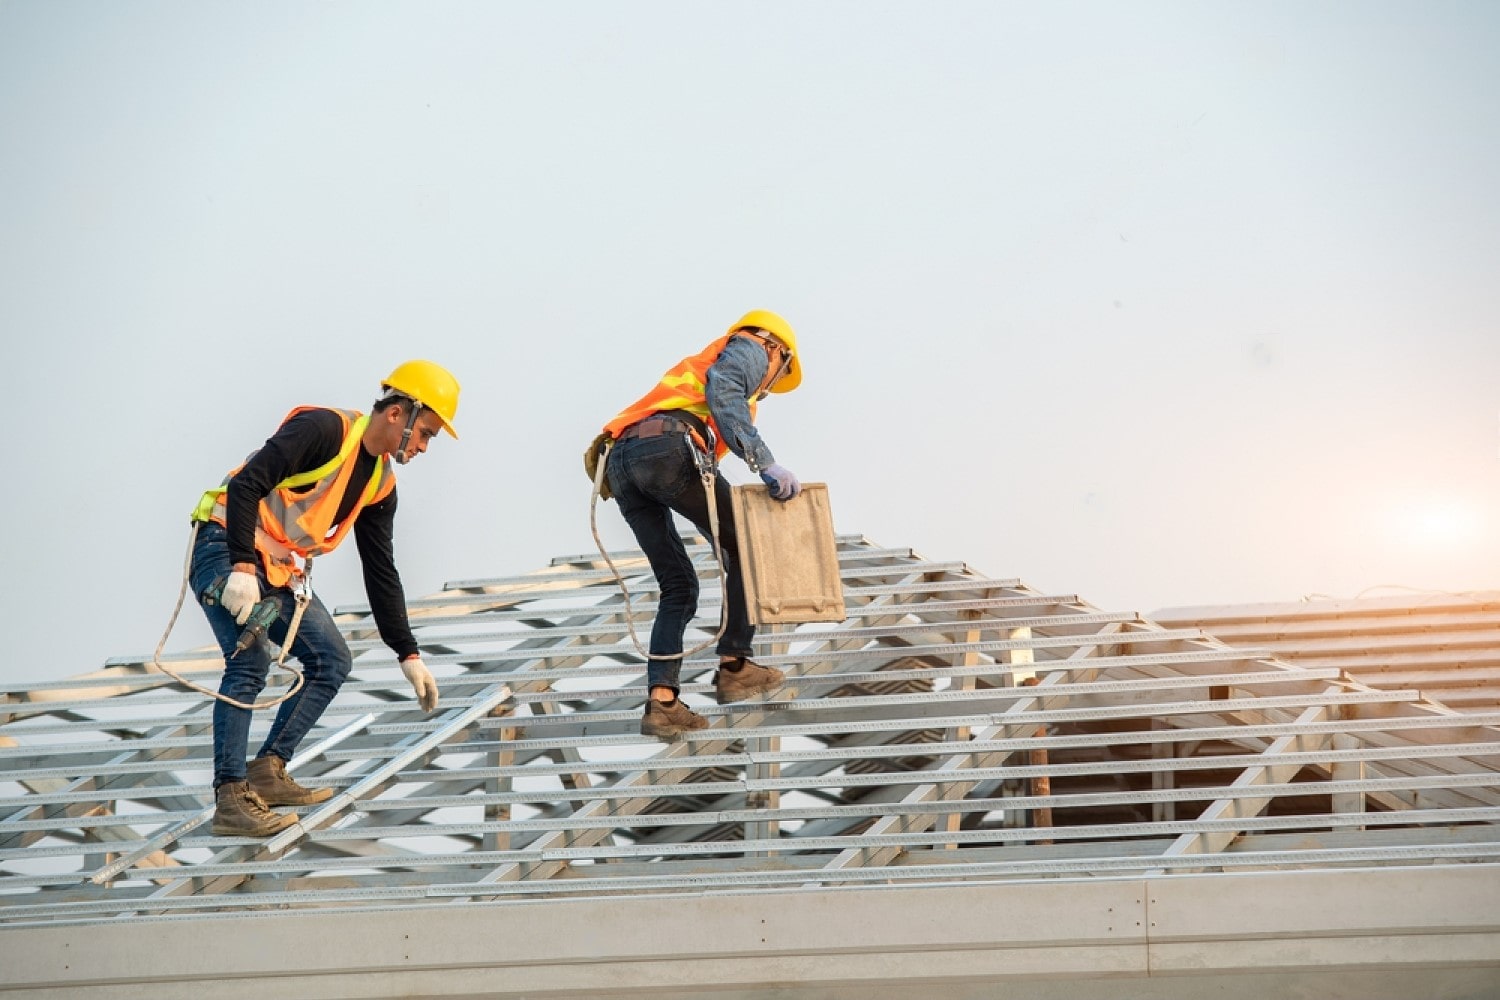
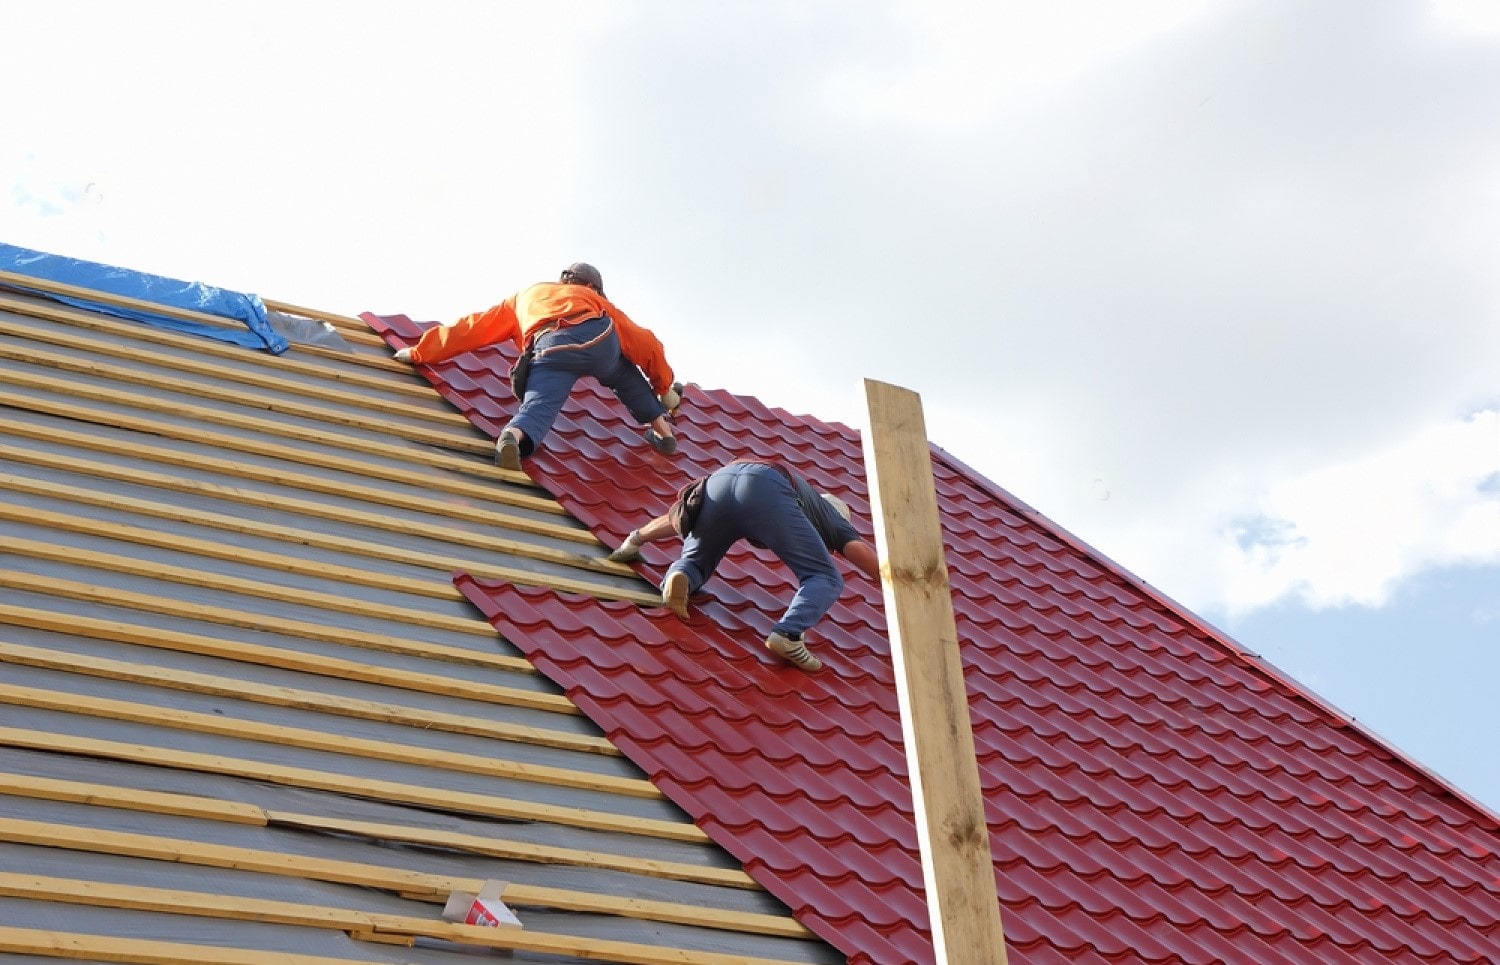
3. Tearing off your old roof is the first step of the project:
The very initial step of new roof installation is taking apart your old roof shingles. Without removing the old system completely, your contractor will not be able to carry out the job properly. This is an important step, so be sure you hire a reputable company or a professional contractor to execute the job according to your liking and to the highest industry standards. There are cases of fly-by-night companies that will mount new shingles over the old ones or even leave the old shingles intact to save money on the material. This is a telltale sign that your new roof will not last as long as it should. Removing an old roof is not an easy task, as attention to detail is extremely important – for instance, any old nails sticking out of the structure will damage the new shingles.
4. Installation of drip edge on eaves:
While many consider this an optional step, our professional opinion is that a drip edge is an integral and essential part of the new roof installation process. Without the proper drip system, water could start collecting behind the gutter and escaping down your home. You would be running the risk of moisture accumulating on the fascia board, which is the perfect path to rot and other damages. The drip edge needs to be placed before installing the underlayment.
5. Installation of the underlayment
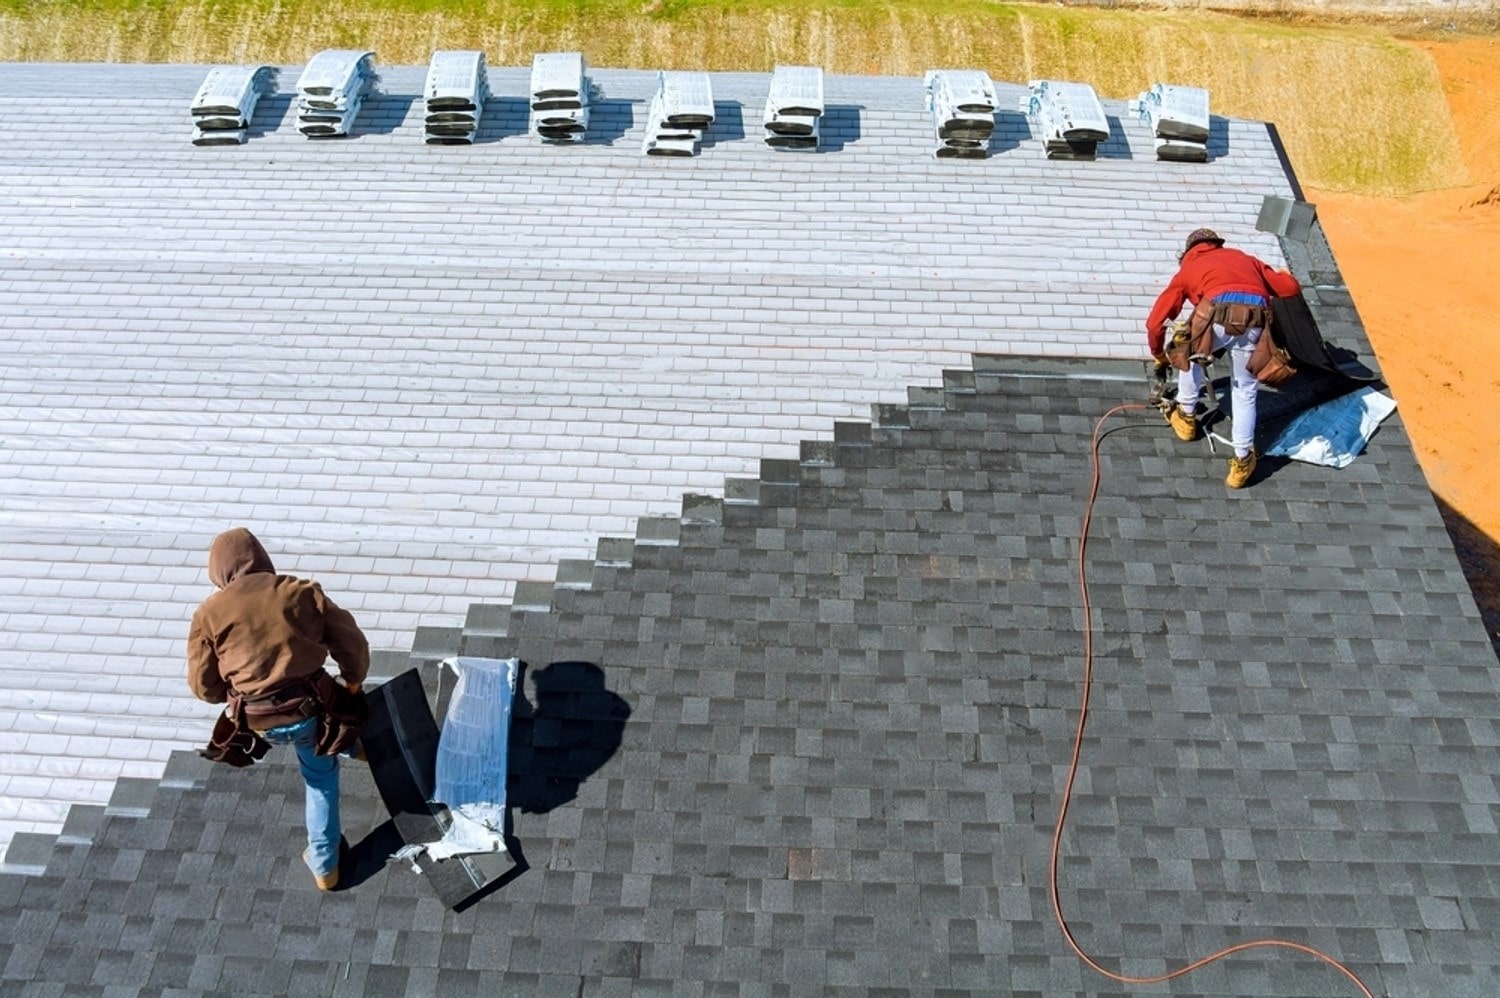
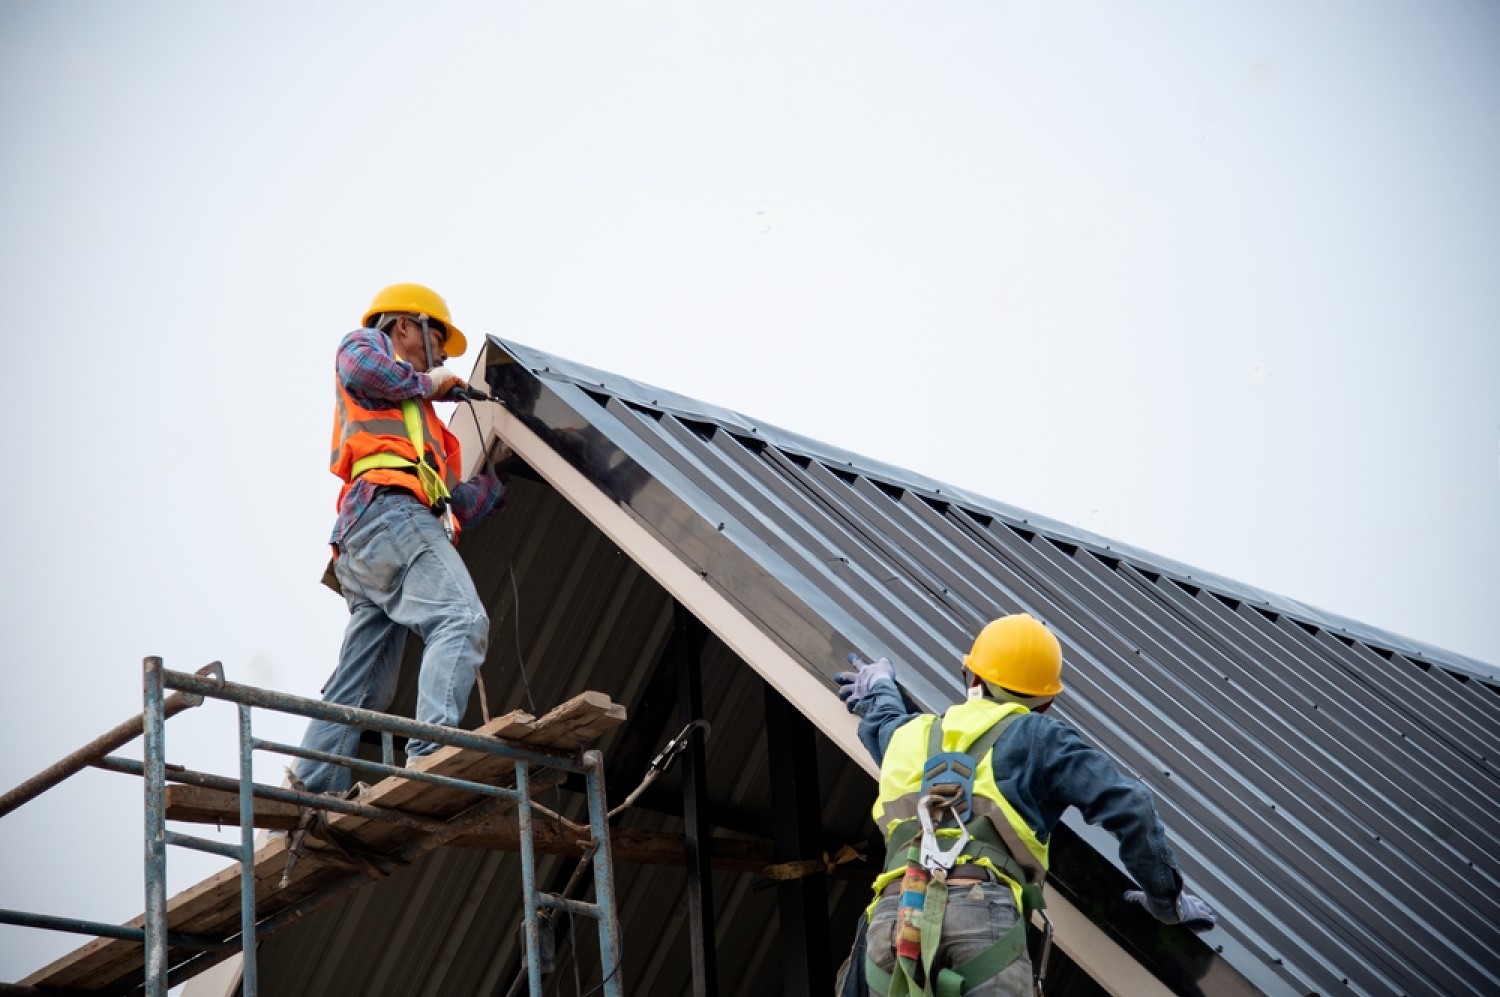
The key element of any roofing system is the underlayment. A roofing underlayment is a durable and waterproof membrane that is laid between the shingles and the roof sheathing. Due to the fact that it is an additional layer protecting against difficult weather conditions, the installation of the underlay is mandatory. Underlayment is a self-sticking material that might need a few nails to secure in place depending on the weather conditions. If the roof installation is carried out in warmer months, the peeled-off material can stick on its own.
6. Felt paper for extra protection
Covering your roof with felt paper, also known as “tar paper,” will allow for the removal of water collected underneath the shingles while simultaneously increasing your roof’s fire rating. Your roofing contractor will roll out the paper and then secure it with staples to the deck.
7. Let’s not forget about roof valleys
Waterproofing your roof valleys is incredibly important and cannot be disregarded. Your roofer will lay out the underlayment and felt paper similarly as described above, tailoring the methods to fit your house’s unique structure.
8. Covering your roof with starter shingles
In order to achieve the best and most precise coverage of your roof possible, your roofing contractor will lay out the initial row of shingles. Those starter shingles differ in width from the regular shingles that will be installed on top. Shingles are designed in a way to overlap one another, but the starter shingles will be laid out flat, creating protection against leaks and water damage.
9. Shingle installation, here we come
Shingle installation is probably the easiest part of the entire process, although it might be a tad tedious. As mentioned above, shingles are mounted in an overlapping way. Your roofer will secure shingles to the roof with a nail gun.
10. Time to install the flashing
Flashing is extra protection applied around the chimney and windows to ensure a tight seal around those structures.
11. Ridge cap on the roof
Ridge caps are thicker shingles that are installed on top of regular shingles along the ridges of the roof.

12. Finishing with a sealing
Your roof will be swept off any debris, and the contractors will then seal all exposed nails. Some roofing companies might use silicone sealers, while others will opt for asphalt-based solutions. Many professionals will not recommend either of those, as they have their disadvantages and do not last as long. The best solution is to seal your roof with a specialized hybrid sealant.

